There is a moment every desk owner recognises. You push your chair back, glance down, and see it: a grey knot of power leads, a monitor cable looped around a chair leg, and a phone charger that has somehow migrated to the far side of the room. Nothing is broken. Everything is just in the way.
Cable management is not about achieving a showroom finish. It is about making the cables behind your desk predictable, so you can unplug a laptop, swap a monitor or vacuum the floor without a fight. You do not need to drill into anything, and you do not need to spend much. Here is how to do it properly, starting from scratch.
Before You Buy Anything, Empty the Space
Pull the desk away from the wall, unplug everything and lay the cables out flat on the floor. This is the step most people skip, and it is the one that saves money. Once the tangle is spread out, you will usually find you own far more cable than you need: three USB-C leads for two devices, an HDMI cable from a monitor you sold, a charger for a tablet that lives in a bag.
Sort what is left into three piles:
- Stays put — monitor power, PC lead, desk lamp, speakers
- Moves around — laptop charger, headphones, phone cable
- Rarely used — camera leads, travel adapters, spare ethernet
Only the first pile needs a permanent home on the desk. The other two belong in a drawer, labelled. While everything is unplugged, check the condition of each cable. One with a frayed outer sheath, a cracked plug or a scorched smell should be replaced rather than tidied.
The Beginner's Cable Kit
You can solve most desks for the price of a takeaway. What is worth having:
- Hook-and-loop ties. Reusable, gentle on cables, and far better than plastic zip ties, which have to be cut off and can pinch the inner wires if pulled tight.
- Adhesive cable clips for running a single cable along a desk edge or skirting board.
- A cable box or lidded basket to hide the extension board.
- Labels. Masking tape and a pen is fine.
- A cable tray, under-desk basket or sleeve if you have a lot of kit running in the same direction.
Skip anything that forces a tight bend. Cables have a minimum bend radius, and wrapping one sharply around a corner stresses the copper inside.
A Step-by-Step Tidy-Up
Work in this order and you will not have to redo it.
- Unplug and clean. Wipe the desk, the wall behind it and the floor. Dust is half of what makes a cable area look grim.
- Group by direction, not by device. Cables travelling to the same place run together. Everything heading to the power strip is one bundle; everything heading to the laptop is another.
- Run power first. Position the extension board, then route the power leads to it. Data cables come second, because there are usually more of them and they are thinner.
- Fix the run every 30 to 40 centimetres. Tight enough that the cables are supported, loose enough that they are not strangled.
- Leave a service loop. At each end, leave a hand's width of slack. This is what lets you pull a laptop forward or lift a monitor without yanking a plug out of the wall.
- Label both ends of any cable you cannot trace by eye. Future you will not remember which of the two black HDMI leads goes to the monitor.
- Plug everything back in one at a time and test as you go.
Power Leads and Extension Boards: Get the Safety Bit Right
Neatness comes second here. A few rules are worth keeping.
Keep the extension board off the floor if you can. Mount it under the desk or put it inside a lidded box. Floor level means dust, feet, spilled drinks and the vacuum cleaner.
Never plug one extension lead into another to reach further. The practice is known as daisy-chaining, and it is an easy way to overload a circuit. If you need power somewhere new, use a longer lead.
Respect the rating. UK extension leads are typically rated at 13 amps, and that limit covers everything plugged into the board at once. Heaters, kettles and large printers draw far more than chargers and monitors, so do not stack high-draw appliances on a single strip.
Do not run cables across a walkway, or under a rug where you cannot see them wearing. And if your wiring is old, or you are unsure what a circuit can safely take, speak to a qualified electrician rather than guessing.
Monitors, Chargers and the Cables You Touch Daily
Monitors
Route the video and power cables down the back of the stand or monitor arm, and clip them to it, leaving slack. If your monitor moves up and down, a tight cable pulls on the port every time you adjust the height — and ports are usually the first thing to break.
Chargers
Most people own more chargers than sockets. A single multi-port USB charger can replace three or four separate plugs, which shrinks the whole problem at once. Keep the cables you use daily on the desk and everything else in a drawer.
Phone and laptop cables
These are the ones that end up on the floor. An adhesive clip at the desk edge, or a small weighted holder, keeps the end within reach. When you unplug, coil the cable loosely and clip it rather than dropping it behind the desk.
Keeping It Tidy Without Thinking About It
Two habits do most of the work. First, one in, one out: when a new cable comes into the house, an old one leaves. Second, a five-minute reset at the end of the week — coil the loose cables, push the chair in, check nothing is pinched.
A tidy desk also makes faults easier to spot. When cables are bundled and labelled, a loose connection takes seconds to find rather than an afternoon of unplugging things at random.
Quick Wins If You Have Ten Minutes, Not an Afternoon
Start with the worst offender rather than the whole desk. Untangle and coil the cables under your chair. Put the extension board into a box. Clip the phone charger to the desk edge. Label the two cables you always confuse.
That is usually enough to make the difference you can see and feel. Save the full emptying-and-sorting job for a weekend when you have an hour and the desk is already clear. Cable management is less a one-off task than a small habit — and the desks that stay tidy belong to people who spend five minutes a week rather than five hours a year.
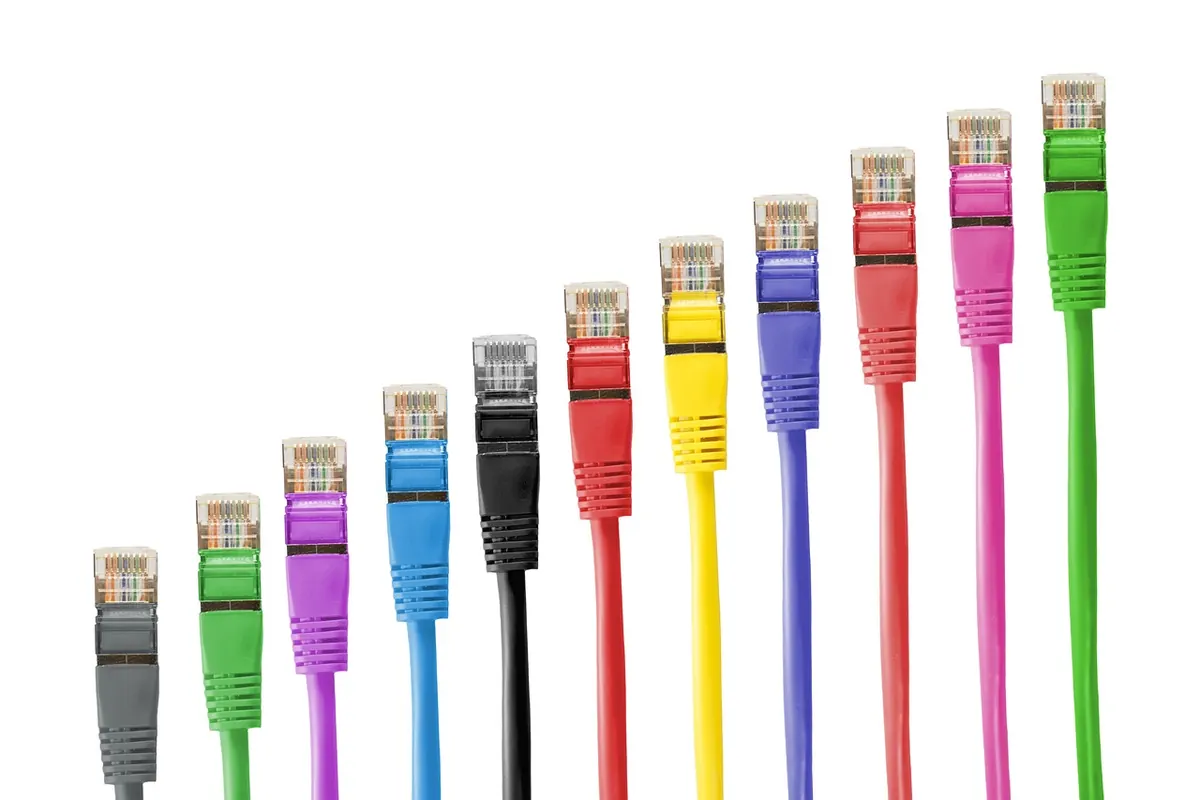
Photo: blickpixel / Pixabay