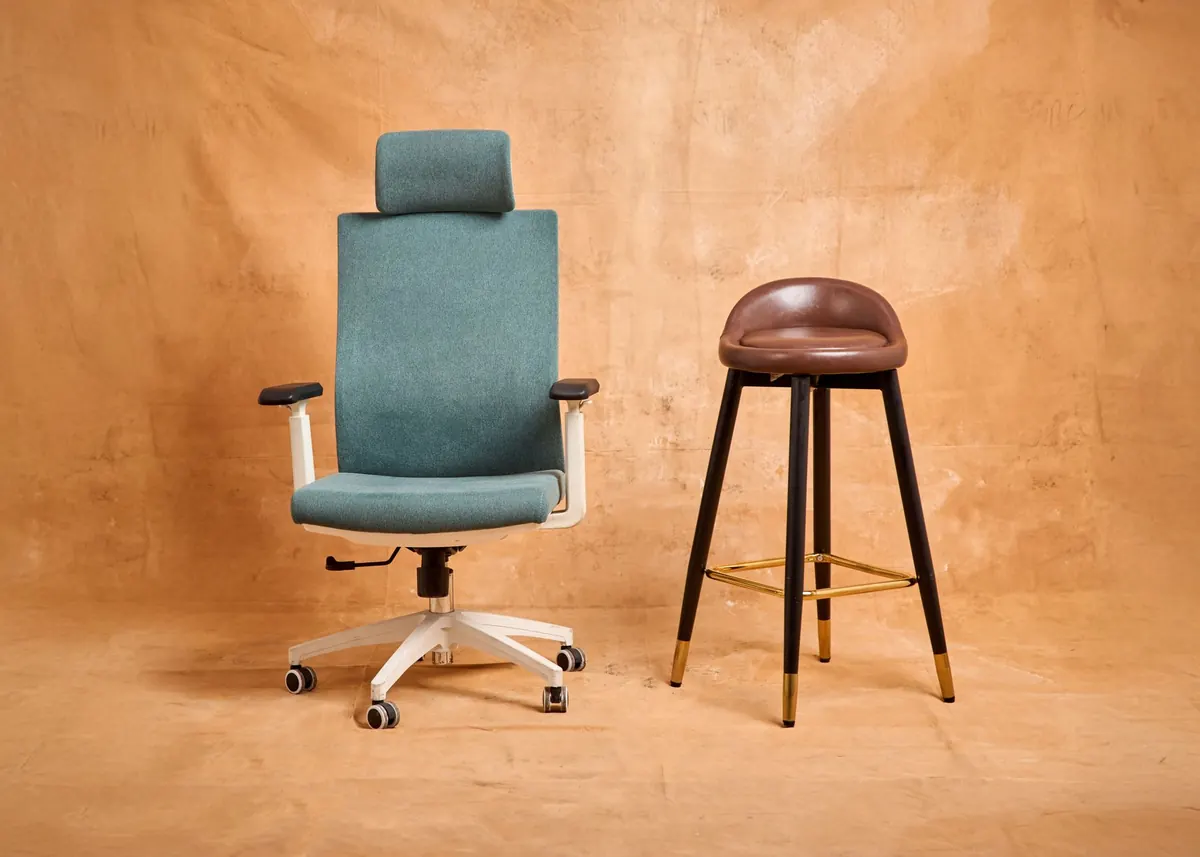
Most office chairs are adjustable for a reason, but the factory settings rarely suit anyone for long. A chair set too high pushes your shoulders up and your feet off the floor. One set too low tips your pelvis back and rounds your lower spine. Ten minutes with an allen key or a lever is usually enough to fix both, and the difference shows up by mid-afternoon: less ache between the shoulder blades, fewer headaches, and no more shuffling around looking for a comfortable position.
Work through the steps below in order, because each adjustment affects the next. Seat height first, then depth, then arms, back support and finally recline. Sit in the chair while you do it, and have a tape measure or a ruler nearby if you like checking numbers.
Before you start: clear the decks
Empty your pockets of anything bulky, take off a thick jacket, and set the desk at roughly the height you normally work at. If your chair shares a desk with a monitor on a fixed stand, don't move the monitor yet. Adjusting the chair usually changes your eye level, and you can deal with the screen once your posture is settled.
Give yourself a moment to sit naturally rather than holding an artificial "good posture" pose. You want to set the chair around the way you actually sit, not the way you sit for the first thirty seconds of a posture check.
Step 1: Set the seat height
Seat height is the foundation. Get it wrong and every other adjustment is a compromise.
- Stand in front of the chair and locate the height lever, usually on the right underside of the seat or on a paddle under the front edge.
- Sit down with both feet flat on the floor, roughly hip-width apart. Don't cross your ankles or tuck your feet under the chair.
- Raise or lower the seat until your thighs are roughly horizontal and your knees sit level with, or just below, your hips.
- Check your feet: they should rest flat and take real weight. If your toes are reaching for the floor, the seat is too high.
If you have to raise the seat high enough that your feet dangle, the answer is a footrest rather than a lower chair. A footrest brings the floor up to you, which is often kinder to the lower back than sinking the chair and closing the angle at your hips.
Short legs and long desks can work against each other here. If your chair is at the right height for your feet but your desk sits too high, raise the desk if it adjusts, or accept that the chair wins and adjust the keyboard position instead.
Step 2: Check the seat depth
Seat depth decides how much of your thigh is supported and where your back lands relative to the backrest. Find the slider under the seat, normally a lever or a paddle next to the height control.
- Slide the seat forward or back until there is a gap of roughly two to three fingers between the back of your knee and the front edge of the seat.
- Make sure the seat pan is not pressing into the back of your calves or knees. Pressure there restricts circulation and encourages you to perch forward.
- Once set, your whole thigh should rest on the cushion without your bottom sliding forward over time.
Some chairs have no depth adjustment. If yours doesn't, use a lumbar cushion or a small rolled towel behind your lower back to take up the slack and bring the backrest closer to you.
Step 3: Position the armrests
Armrests should support your forearms while you type, not lift your shoulders or trap you against the desk. If your armrests stop you pulling the chair close enough that your stomach nearly touches the desk edge, lower or push them out of the way. Being close to your work matters more than using the pads.
Set the height so your elbows rest at around ninety degrees, with your shoulders relaxed and down. Then check the width: your forearms should sit on the pads without your elbows flaring outwards or squeezing inwards. Many chairs let you angle the pads inwards or outwards; a slight inward tilt often suits typing better than a flat pad.
If the armrests only adjust in one direction, or not at all, don't force your body to fit them. Tuck them right down and let your desk do the supporting instead.
Step 4: Bring the lumbar support to your back
A backrest without lumbar support leaves a hollow where your lower spine curves inwards, and the muscles around it work harder than they should. Most decent chairs have a height-adjustable lumbar pad, often a sliding piece on the backrest or a knob that moves it up and down.
Set it so the firmest part of the curve sits in the small of your back, level with your belt line or just above it, not up between your shoulder blades and not digging into your pelvis. Then sit back properly. A backrest only helps if it is actually touching you, so let your shoulder blades rest against it rather than hovering forward over the keyboard.
If your chair has no lumbar adjustment
Use a lumbar cushion, a folded jumper, or a small cushion fixed with a strap around the backrest. Put it low, in the small of your back, and keep it slim. Anything thicker than a few centimetres tends to push you forward rather than support you.
Step 5: Set the recline and tension
A locked-upright backrest feels disciplined for about half an hour and tiresome after that. A little movement keeps the discs and back muscles happier than a rigid position, so aim for a backrest angle slightly past vertical.
Find the tension knob, usually underneath the front or side of the seat, and turn it until the backrest moves with a bit of resistance rather than slamming back the moment you lean. If your chair has a recline lock with two or three stops, try the middle one. If it has a tilt limiter, set it so you can lean back a comfortable amount without feeling like you are falling.
Then test it: lean back, let the chair take your weight, and come forward again. You should be able to move without gripping the desk. If the chair creaks, fights you, or reclines so freely that you tense up, adjust the tension until leaning feels effortless.
Quick pre-flight checks
- Feet flat, knees roughly level with hips.
- Two to three fingers between the seat edge and the back of your knees.
- Elbows around ninety degrees, shoulders relaxed, wrists straight.
- Lower back supported, not arched or slumped.
- Top of the monitor roughly at eye level, about an arm's length away.
- Chair pulled in close, with your forearms supported on the desk or armrests.
Make it stick
Adjusting the chair once is only half the job. Bodies move, and a setting that felt right at nine in the morning can feel cramped by four. Get into the habit of checking the height and recline whenever you notice yourself slouching, and reset the chair if a colleague has borrowed it. Use the movement the chair offers: lean back now and then, change the recline through the day, and take a short break away from the desk every hour or so.
If you share a chair, write your settings on a sticky note or use the markings some chairs have on the gas lift and tension dial. If discomfort in your back, neck or wrists persists despite a well-set chair, sort the setup first, then speak to a GP or physiotherapist rather than working through pain. Ten minutes of adjustment is a sensible start, not a substitute for proper advice when something genuinely hurts.
Photo: McFollis / Pexels